How To Tie A Ribbon Around A Box: For A Perfect Finish
A neatly tied ribbon gives a box a polished finish with very few supplies. Learning how to tie a ribbon around a box starts with a simple wrap, even crossing, and a balanced bow. You can adjust each part before tightening everything into place.


Key Takeaways
- Measure both directions around the box and leave extra ribbon for the bow.
- Start with flat grosgrain ribbon for easier handling.
- Straighten the ribbon after every turn and crossing.
- Keep knots and bulky overlaps on top so the box sits flat.
- Adjust the loops before trimming the tails.
Table of contents
How To Tie A Ribbon Around A Box
The simplest way to tie a ribbon around a box is to center the ribbon across the lid, wrap both ends around the sides, and cross them underneath. Turn the ends in the direction, bring them back to the top, and secure them with a knot or bow. A detailed breakdown is as follows:
- Place the ribbon across the lid with equal lengths hanging over opposite sides.
- Hold it in place and carefully turn the box over.
- Bring both ends together at the center of the base.
- Cross them and turn them toward the two remaining sides.
- Turn the box upright and bring the ends onto the lid.
- Pass them beneath the original top band and tie a bow.
Before tightening, slide the bands into position. Pull both ends gently and evenly so neither side drags the crossing away from the center. The ribbon should feel snug without bending the lid or crushing the box.
What Supplies Do You Need To Tie A Ribbon Around A Box?
When trying to tie a ribbon around a box, gather a gift box with a fitted lid, ribbon, and sharp scissors. Double-sided tape is optional for holding a band in position while you work. Special bow-making tools are unnecessary for the basic technique. A flat surface and enough room to spread out the ribbon are sufficient.
Ribbon around 1/2 inch to 1 inch wide is manageable for small and medium boxes. Grosgrain offers more grip than smooth satin, and very narrow ribbon can twist easily, while thick velvet may create a bulky knot.
How Much Ribbon Do You Need For A Gift Box?
For a crisscross wrap, measure once around the length and height, then once around the width and height. Add those measurements and leave extra for the bow.
For example, a box measuring 10 inches long, 6 inches wide, and 3 inches high needs about 44 inches for the two wrapping parts. Adding 20 to 30 inches for a modest bow gives approximately 64 to 74 inches overall. This is an estimate. Wider ribbon and larger loops need more length. When learning how to wrap a box with ribbon, leave extra and trim later.
Make a strong impression with custom ribbons
Work with us to create custom ribbons featuring your unique branding. Add a polished finishing touch to gift boxes and promotional packages that your customers or clients will love.
What Is The Easiest Way To Tie A Ribbon Around A Box?
For beginners wondering how to tie a ribbon around a box, breaking the task into separate movements makes it easier to control. You can break the task down in the following ways:
- Position the middle of the ribbon across the lid.
- Wrap the ends around opposite sides without letting them twist.
- Cross the ends underneath and redirect them towards the remaining sides.
- Tighten gradually while checking that every band is straight.
- Knot the ends on top, anchoring them beneath the first band.
- Bow the end and adjust the loops until they match.
Practice with moderately wide cross grain before trying satin or narrow ribbon. Its textured surface makes it easier to hold the crossing while adjusting another section. Straighten the ribbon after each crossing point. Fix a small twist immediately. It's easier than pulling it through a finished wrap. If the ends become uneven, loosen the arrangement and slide the ribbon before trying the final knot.
Need custom ribbons for your next promotional giveaway or other project?
Bring your designs to life on custom ribbons for gift wrapping, branding, or special occasions. Explore customization options to add a personal touch and make a memorable connection.
Explore options for custom ribbons hereHow Do You Tie A Basic Ribbon Bow On A Gift Box?
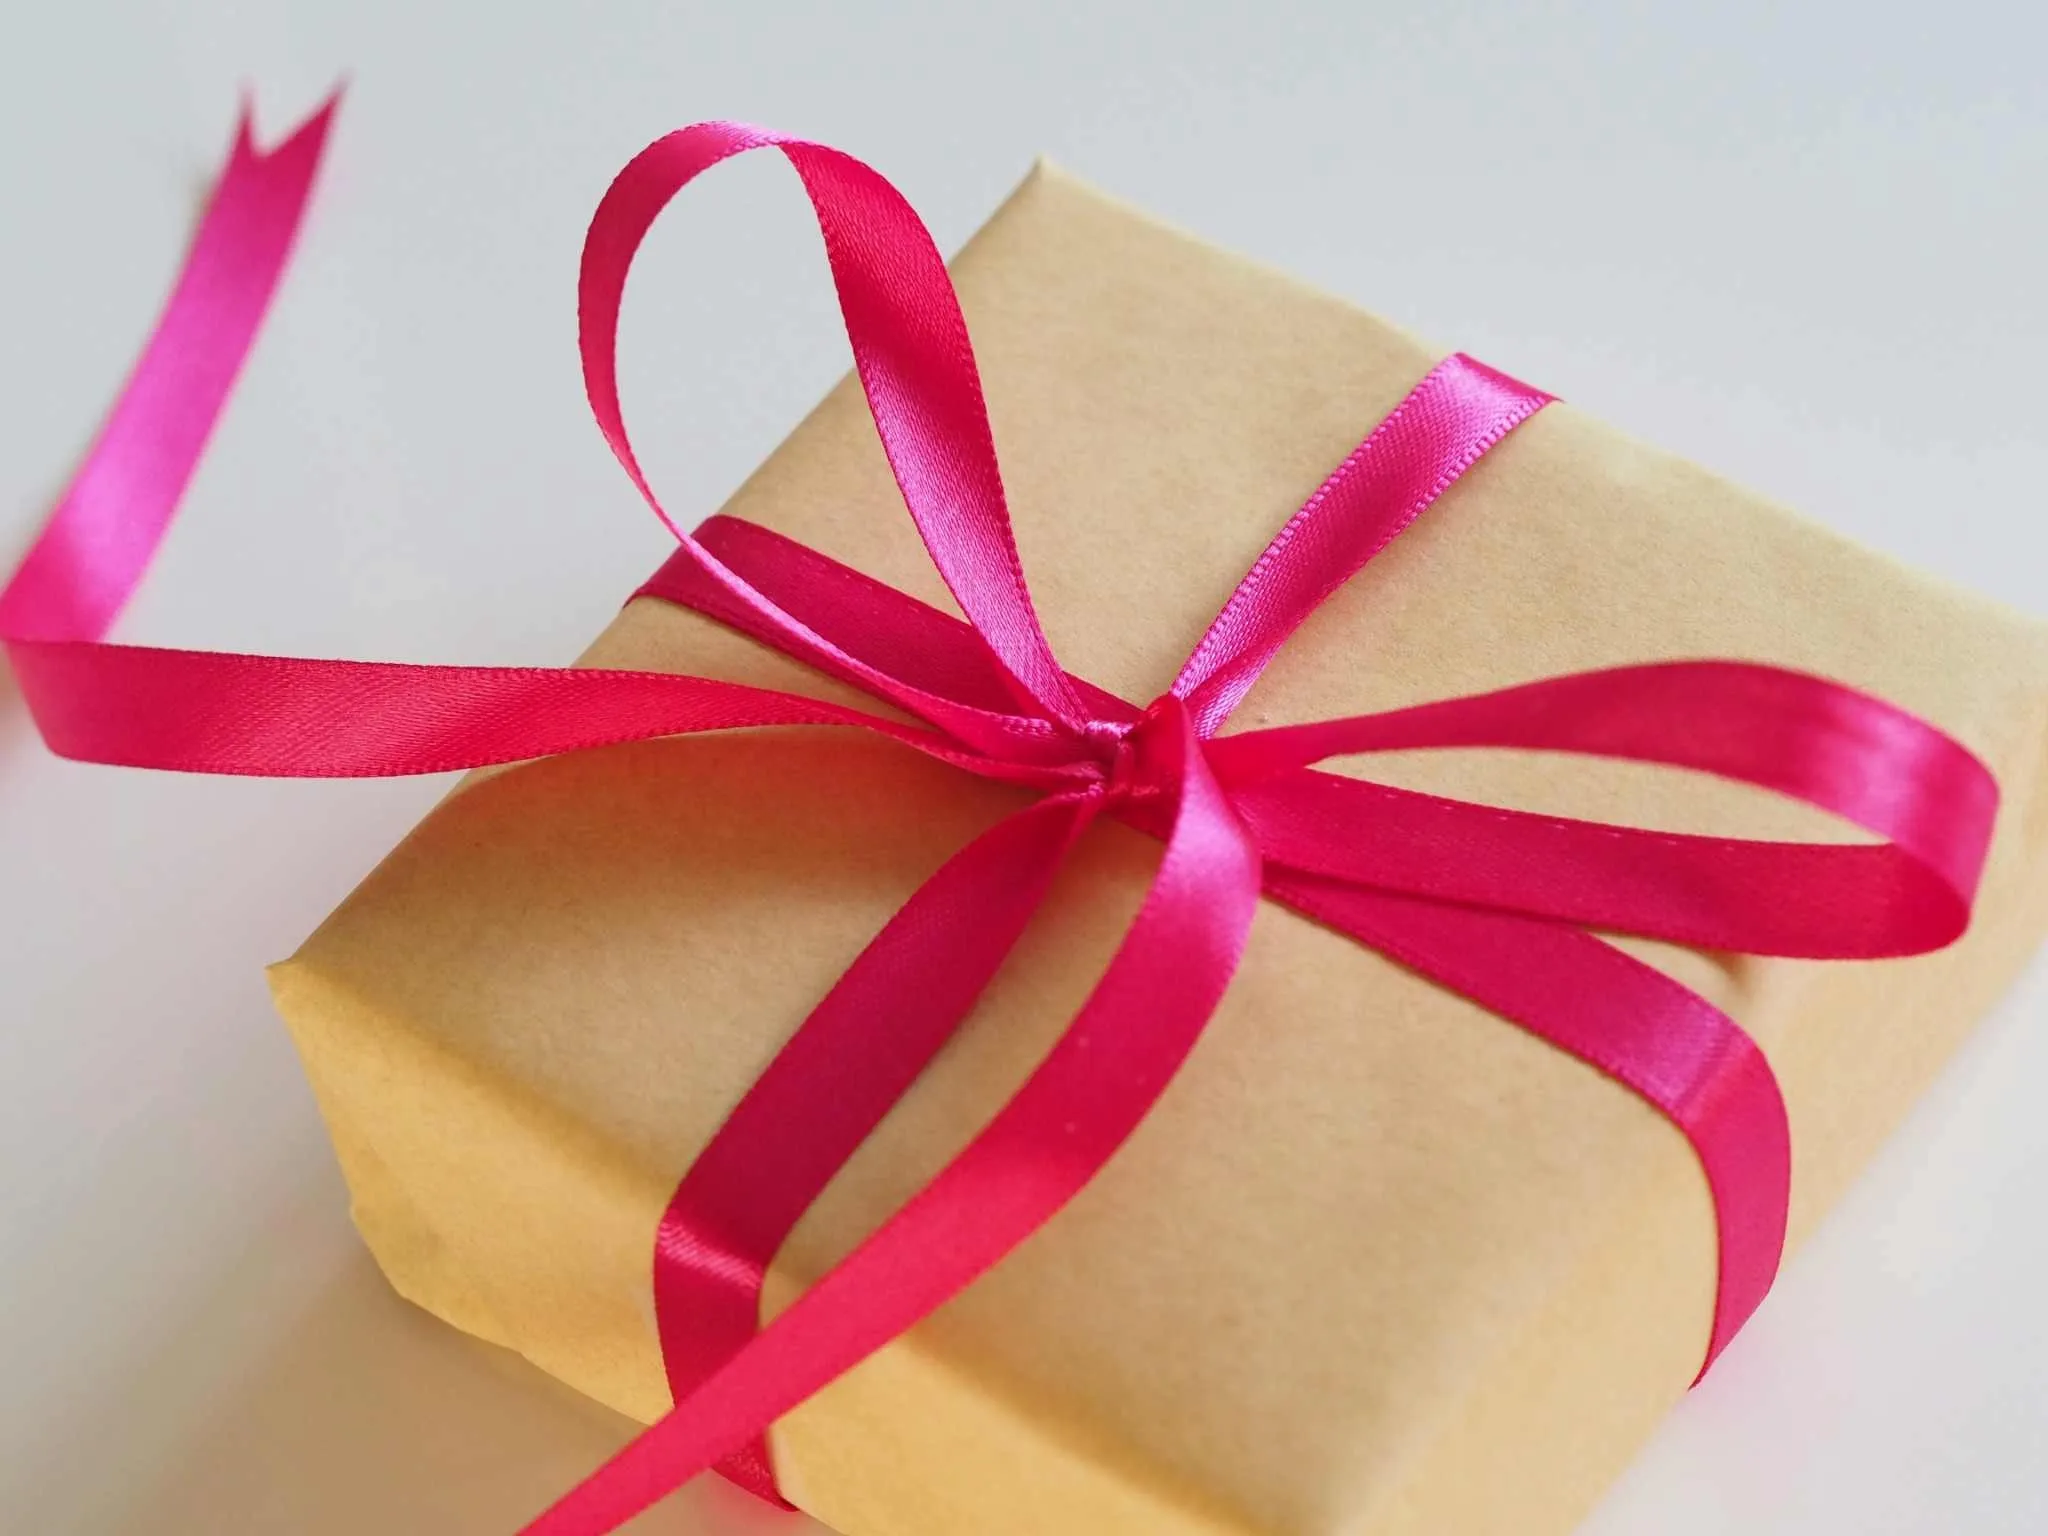
When trying to tie a ribbon bow on a gift box, once the wrapping is secure, cross the ends and pull one underneath the other to make a simple knot. Hold the knot against the lid while forming the bow. Make one loop in each hand. Cross the right loop over the left, then push it through the opening beneath the crossing. Pull both loops outward slowly. Keep your fingers near the center so the knot stays in place.
If one loop grows larger, gently pull its matching tail to shorten it. Alternate between adjusting the loops and tails until the bow looks balanced. For anyone learning how to tie a ribbon on a box, gradual tightening is the most useful habit. Pulling hard at the beginning can produce small loops and a tight knot that is difficult to reshape.
How Do You Tie A Ribbon Diagonally On A Gift Box?
Diagonal wrapping places the visible bands at an angle instead of making a central cross. Below are steps on how to tie a ribbon diagonally on a gift box:
- Lay the ribbon diagonally across the lid between two opposite corner areas.
- Leave one end long enough for half the bro.
- Guide the working end around the nearest corner and beneath the box.
- Bring it up around an adjacent corner to create a second angled band.
- Guide it around the remaining corner areas and return to the support at the starting point.
- Tie the ends where the diagonal band meets.
Keep the bands slightly inside the corners so they grip the box. Match their angles before tightening. Position the bow near a corner for an intentionally offset finish.
How Do You Keep The Ribbon Centered And Flat On The Box?
Keeping ribbon around box edges aligned starts before the final knot. Use the midpoint of each edge as a visual guide and check opposite sides together.
- Position each band at the center of the edge it crosses.
- Smooth the ribbon with your fingers as it passes beneath the box.
- Lift the box slightly to check for hidden twists.
- Pull both ends with similar pressure.
- Hold the crossing point with one finger while adjusting nearby sections.
- Loosen the wrap if one band starts dragging another sideways.
Do not try to correct every problem by pulling harder. Excess tension can make the ribbon slide toward an edge or dent soft packaging. When tying ribbon around a box, pause before making the bow. Check the lid, base, and all four sides while the bands are still adjustable.
How Do You Tie A Ribbon On A Rectangular Box?
On a long rectangular box, center the crossing along both the length and width of the lid. This creates balanced sections even when the box is much longer than it is wide.
The longer wrapping path needs more ribbon. Allow for that difference when measuring rather than assuming both bands require equal lengths.
To stop the bands slipping toward the short ends, keep them perpendicular to the edges and secure the top knot beneath the first band. On a slippery surface, a small piece of double sided tape beneath the ribbon can help hold its position.
How Do You Wrap Ribbon Around A Box Without A Bump?
A raised crossing forms when the ribbon overlaps, twists, or bunches beneath the base. Thick ribbon makes the bump more noticeable. Moving the crossing onto the lid gives a flatter result.
- Start with the ribbon across the base and bring both ends onto the lid.
- Cross the ends on top and turn them toward the remaining sides.
- Take both ends around those sides and beneath the box.
- Keep the underside sections flat and beside each other.
- Bring the ends back up and tuck them beneath the top crossing.
- Tie the bow on the lid.
This keeps the main change of direction on top. If the box still wobbles, check for folded edges underneath.
How Do You Tie A Ribbon Horizontally Around A Gift Box?
A horizontal wrap uses one continuous band instead of two intersecting bands. For a band across the lid, run the ribbon from left to right, around the sides, and beneath the base.
Bring both ends together on top and tie a bow. Slide the band into position before tightening. This style works well on shallow boxes, patterned packaging, or lids with artwork you want to leave visible. Place the bow centrally or near one side, keeping the entire band straight. A small hidden tape tab can help prevent a single band from sliding.
1. QUESTION: What ribbon style do you want on your gift box?
1.1. ANSWER: A simple single band with a bow
1.1.1. QUESTION: What type of ribbon are you using?
1.1.1.1. ANSWER: Textured grosgrain
1.1.1.1.1. SOLUTION: Wrap one band around the lid, sides, and base. Bring the ends together on top, tie a bow, and adjust the loops before trimming the tails.
1.1.1.2. ANSWER: Smooth satin
1.1.1.2.1. SOLUTION: Wrap one band around the box and use a small hidden piece of double-sided tape to hold it in position. Tie the bow gradually so the slippery ribbon stays aligned.
1.2. ANSWER: A crisscross wrap with a bow
1.2.1. QUESTION: What type of ribbon are you using?
1.2.1.1. ANSWER: Textured grosgrain
1.2.1.1.1. SOLUTION: Measure both wrapping routes and add extra for the bow. Wrap in both directions, straighten each band, and tuck the ends beneath the original top band before tying a balanced bow.
1.2.1.2. ANSWER: Smooth satin
1.2.1.2.1. SOLUTION: Wrap in both directions, using hidden double-sided tape to help center the bands. Smooth every twist, anchor the ends beneath the original top band, and tighten the bow slowly with even pressure
Customize ribbons with bespoke or branded designs and make an impression
Give your gift boxes a distinctive finish with custom ribbons featuring your logo, message, or unique design. Choose options that complement your packaging and bring your creative vision together.
How Do You Make A Decorative Ribbon Bow For A Gift?
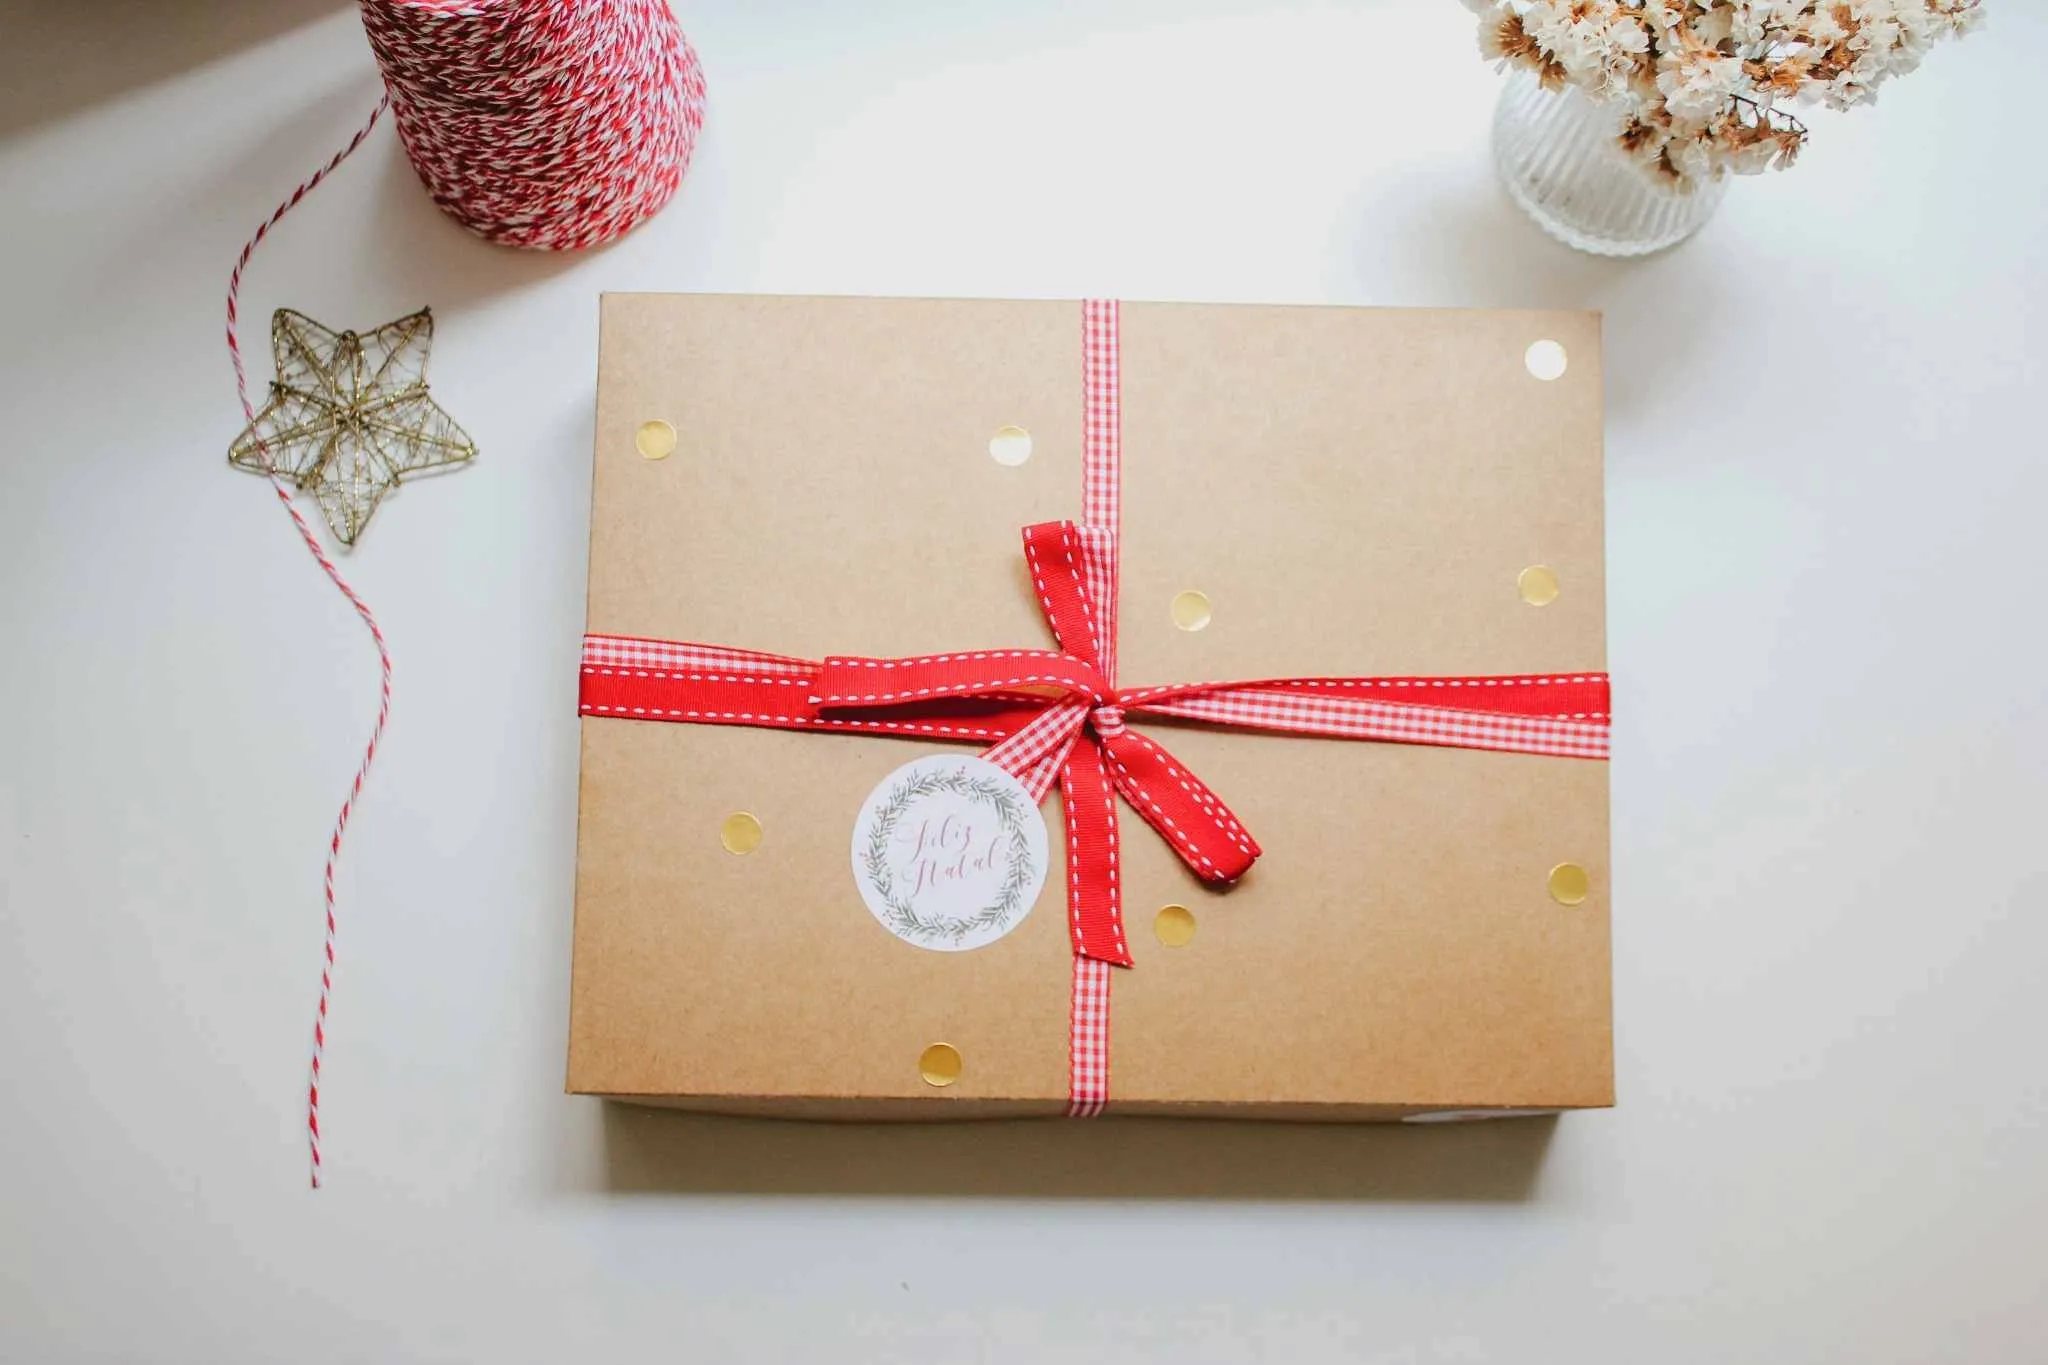
Once you understand how to put a ribbon on a box, decorative variations become easier. Start with a secure wrap, then add volume or contrast.
- Layer a narrow ribbon over a wider ribbon to create a contrasting center stripe.
- Make several loops of similar size and secure their centers with a separate ribbon.
- Use wired ribbon when you want loops that can be shaped and held open.
- Add a larger bow to a broad lid while keeping it clear of the edges.
Match the bow to the box. A small package usually needs shorter loops and lighter ribbon. A large box can support fuller loops without looking crowded. Decorative layers should lie smoothly beneath the bow. Keep the center secure, then spread and shape the loops. Avoid using extra tension to compensate for uneven layers, because this can distort the whole arrangement.
How Do You Wrap A Gift With Woven Ribbon And A Bow?
Woven wrapping uses several parallel strands crossed by another set. Begin with two or three strands in each direction. Lay the first set across the lid with equal spacing. Wrap each strand around the box and temporarily secure its ends underneath with small tape tabs.
Add the first strand in the other direction. Pass it over one existing strand and under the next. Reverse that order for the following strand to form the woven pattern. Continue slowly, keeping the spacing consistent. Temporarily tape completed sections so they cannot shift while you work. Finish by attaching a separate bow to one intersection. When wrapping ribbon around box surfaces this way, flat ribbon makes the pattern easier to control.
Looking for an affordable solution for custom ribbons?
Explore custom ribbon options for your budget and packaging needs. Personalize your ribbons online to add a thoughtful finishing touch to customer gifts, event favors, and promotional giveaways.
Get started with custom ribbons hereWhat Type Of Ribbon Works Best For Gift Boxes?
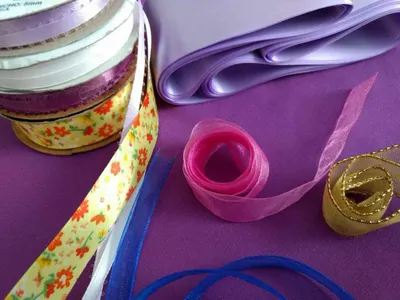
The best choice depends on the finish, box size, and amount of structure you want. Use this comparison when deciding how to wrap ribbon around a box neatly.
| Ribbon type | Best use |
|---|---|
| Satin | Smooth bows and polished gift presentation, although its slippery surface needs careful handling. |
| Grosgrain | Beginner wrapping and firm bands because the ribbed texture provides grip. |
| Velvet | Rich decorative finishes, especially when a thicker knot suits the package. |
| Wired ribbon | Large bows and shaped loops that need to hold their form. |
| Curling ribbon | Lightweight gift decoration with curled tails and small tied accents. |
Grosgrain is often easier for beginners to control. Satin creates a smooth finish but may slide while the knot is being formed. Velvet can require more length because its thickness builds up at the center.
Wired ribbon helps shape decorative loops, though it may feel stiff around small boxes. Curling ribbon works well for playful accents but does not create the same broad, flat bands as fabric ribbon.
How Do You Measure And Cut Ribbon For A Gift Box?
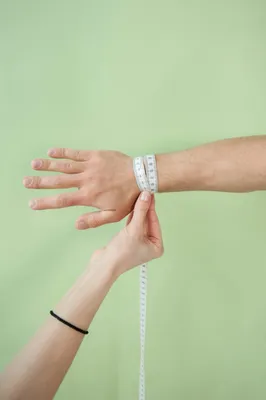
To measure accurately, follow the intended wrapping route with the ribbon still attached to its spool. Hold the starting end in place and guide the ribbon around every side the finished design will cover. Allow extra length for the knot, loops, and tails. If you want a large bow, loosely form the loops before choosing the cutting point. This gives a better estimate than using the same allowance for every ribbon.
Cut with sharp scissors while holding the ribbon flat. A clean diagonal cut gives a simple finish. After tying a ribbon on a box, adjust the bow before trimming excess. Cutting the tails too early leaves less material for correcting uneven loops.
Frequently Asked Questions About How To Tie A Ribbon Around A Box
How Do You Tie A Ribbon Around A Box Without It Slipping?
Use ribbon with some surface grip, keep the bands snug, and anchor the knot beneath the original top band. Grosgrain is often easier to secure than smooth satin. Straighten each band before tightening the bow. On glossy packaging, add a small hidden piece of double sided tape beneath the ribbon.
How Do You Keep Ribbon Flat Under A Gift Box?
Keep knots and bulky crossings on the lid. Guide the underside sections into flat, separate paths and smooth them before tightening. Thin ribbon creates less bulk than thick velvet or layered material. If a wrapped box rocks on the table, lift it and check for twists, folded edges, or overlapping bands.