How To Apply Die Cut Stickers: For A Clean Smooth Finish
Applying die-cut stickers correctly starts with cleaning the surface, checking the position, and using controlled pressure. This guide explains how to apply die-cut stickers smoothly, prevent bubbles, use transfer tape, and install both small stickers and large vinyl decals.
Key Takeaways
- Clean and completely dry the surface before applying the sticker.
- Position the design before exposing the adhesive.
- Peel away the backing gradually.
- Smooth the sticker from the center toward the outside edges.
- Remove transfer tape slowly at a low angle.
Table of contents
-
How To Apply Die-Cut Stickers
-
What Tools Do You Need To Apply A Die Cut Sticker?
-
How Should You Clean The Surface Before Applying a Die-Cut Sticker?
-
How Do You Apply a Large Die Cut Sticker by Yourself?
-
What Surfaces Do Die Cut Stickers Stick To Best?
-
Should You Apply Die Cut Decals Wet Or Dry?
-
How Can You Make A Die Cut Sticker Stay On Longer?
How To Apply Die-Cut Stickers
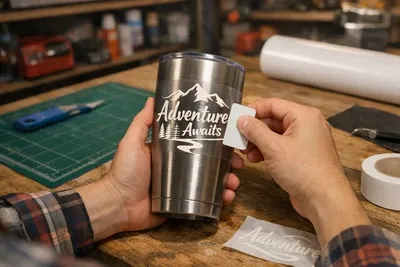
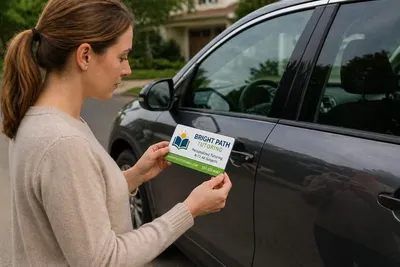
To apply a die-cut sticker, clean and dry the surface before checking the desired position. Peel back part of the backing, anchor one edge, and gradually press the sticker down. Smooth from the center toward the edges, then inspect the design for bubbles, wrinkles, or lifting corners
Follow these steps when learning how to apply die-cut stickers:
- Hold the sticker in position and check the alignment
- Peel back only a small section of the backing
- Anchor one edge of the sticker
- Lower the sticker gradually while applying steady pressure
- Smooth from the center towards the outside edges
- Inspect the sticker and press down any loose edges
Professional equipment is not normally required for a small sticker. Working slowly and applying consistent pressure are more important than using specialist tools. An ordinary pill and stick-dyed sticker can be removed directly from its backing and applied as one piece. A vinyl decal with separate letters or detailed elements may use transfer tape to hold the design together during installation.
How Do You Peel And Press A Die-Cut Sticker Down Smoothly?
Start by peeling a small portion of the backing paper. Exposing the entire adhesive surface often causes the sticker to fold or collect debris. Align the exposed edge against your surface. Ensure the design stays positioned before pressing the initial section down firmly.
Use a squeegee or plastic card to apply pressure while slowly removing the backing. Move from the center toward the outer edges using overlapping strokes. This directs trapped air out. If the sticker wrinkles, lift the unbonded area and lower it down carefully.
Press the design firmly to ensure contact. Pull transfer tape back slowly over itself at a low angle. If the vinyl lifts, stop and burnish that area. Patience ensures the result is secure.
How To Remove Transfer Tape Without Lifting The Vinyl Decal?
Press your vinyl design firmly onto the surface before removing transfer tape. Focus on small letters, narrow lines, and pointed edges. Begin at one corner and pull the tape slowly back over itself while keeping it close to the surface. Avoid pulling the tape directly upward because this low angle helps keep the vinyl securely attached to your project.
Watch the vinyl closely while peeling. If any part of the design rises with the tape, stop immediately. Lay the tape back down and burnish that area firmly. Continue removal only after the vinyl stays put. For stickers without transfer tape, peel them directly from the backing and apply the piece in one smooth motion.
Make a strong impression with custom die-cut stickers
Turn your logo or artwork into custom die-cut stickers shaped around your design. Add a personal touch to packaging, giveaways, and everyday items with branding that stands out.
What Tools Do You Need To Apply A Die Cut Sticker?
Use this practical checklist when preparing to apply a sticker.
- Rubbing alcohol or another suitable cleaning solution.
- Mild soap and clean water when appropriate.
- A clean lint-free cloth.
- Masking tape or painter’s tape.
- A ruler or tape measure.
- A squeegee or smooth plastic card.
- Scissors for applying the hinge method.
- Another person to support especially wide decals.
A lint-free cloth and mild cleaning solution suffice for small stickers. Use a smooth plastic card to apply steady pressure and remove trapped air. Ensure the card edge is clean to avoid scratching the surface or damaging the sticker.
For larger decals or detailed lettering, use a ruler, masking tape, and a squeegee to maintain precise alignment. These tools simplify the process while the backing is removed. Dedicated application kits are also beneficial for frequent users because they bundle all necessary materials into one convenient package.
How Should You Clean The Surface Before Applying a Die-Cut Sticker?
Surface contaminants like dust, grease, wax, and moisture hinder adhesive bonds. Stickers might appear secure initially but will likely begin peeling soon if the surface remains unclean. Thorough preparation is essential for a long-lasting hold. Skipping this vital step often leads to lifting edges and premature failure.
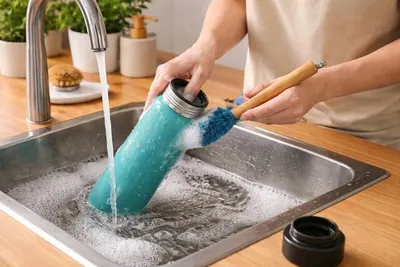
For safe surfaces, use mild soap and water to remove grime. Rinse away all soap residue before drying the area completely with a lint-free cloth. Rubbing alcohol works well on glass, metal, and certain plastics. Apply a small amount to a cloth and wipe the area carefully.
Avoid oily cleaners that leave films. Always test cleaning solutions on a hidden area first to avoid damaging sensitive finishes. Preparation guarantees your sticker adheres properly without frustration. These simple precautions ensure professional results every time.
How Do You Position A Die Cut Sticker Before Peeling The Backing?
Before peeling the backing, hold the sticker against the surface to check alignment and spacing. Use a ruler for centering instead of your eyes. Placing painter's tape around the edges creates a helpful guide for positioning. Step back to view the design from a distance, as errors are easier to spot from afar. Careful planning prevents mistakes during installation.
Precise placement is vital for permanent vinyl. Once firm pressure activates the adhesive, you usually cannot move the decal without damage. Take time to verify your layout and orientation before committing. Careful preparation is the best way to guarantee a secure finish.
How Can You Prevent Bubbles And Wrinkles When Applying A Sticker?
Prevent bubbles by peeling the backing slowly and using gentle, controlled strokes. Overlapping movements help air escape, while aggressive rubbing can damage the material surface. Keep the adhesive covered until necessary to maintain control during the installation process.
If wrinkles occur during application, lift only the unbonded part to fix the position. Avoid peeling off areas that have already stuck down because that weakens the adhesive. Tiny bubbles often disappear on their own, but check manufacturer instructions for large ones.
Need custom stickers for your next promotional giveaway?
Give customers something they can take home and make their own. Our custom kiss-cut stickers keep each design on a larger backing, making them convenient to handle and distribute at events or inside product packages.
Explore custom kiss-cut stickers hereHow Do You Apply a Large Die Cut Sticker by Yourself?
Use the following process to control a large sticker during installation:
- Measure the application area and identify the center.
- Hold the unpeeled sticker against the surface.
- Confirm the final alignment and orientation.
- Secure the design temporarily with masking tape.
- Divide the backing into two manageable sections.
- Apply one side from the center outward.
- Remove the remaining backing gradually.
- Apply the second side using overlapping strokes.
- Check the edges and detailed sections.
Avoid exposing the full adhesive backing of a large decal simultaneously because the material might sag or fold. Trapped air often ruins the finish when the material makes premature contact.
Work in controlled sections to ensure smooth application. Consider asking for help if the sticker is wide. Their support keeps the material level while you manage the backing and apply pressure.
How Does The Hinge Method Make Large Stickers Easier To Apply?
Position your sticker carefully and secure it by placing a strip of masking tape across the center. This tape extends onto the application surface to form a stable hinge that keeps the design aligned.
Once secure, you can lift one side of the sticker and peel the backing away toward the center. Cut the loose backing material, and press the adhesive side down from the hinge toward the outer edge using smooth strokes.
After the first half bonds, you can remove the center tape and repeat the process on the other side. This reliable hinge method is perfect for large graphics and lettering that require precision during installation.
Bring your branding to life with custom transfer stickers
Create a coordinated design with separate letters or graphic elements. Our custom transfer stickers hold the artwork in position during application, helping you place your branding on suitable smooth surfaces.
What Surfaces Do Die Cut Stickers Stick To Best?
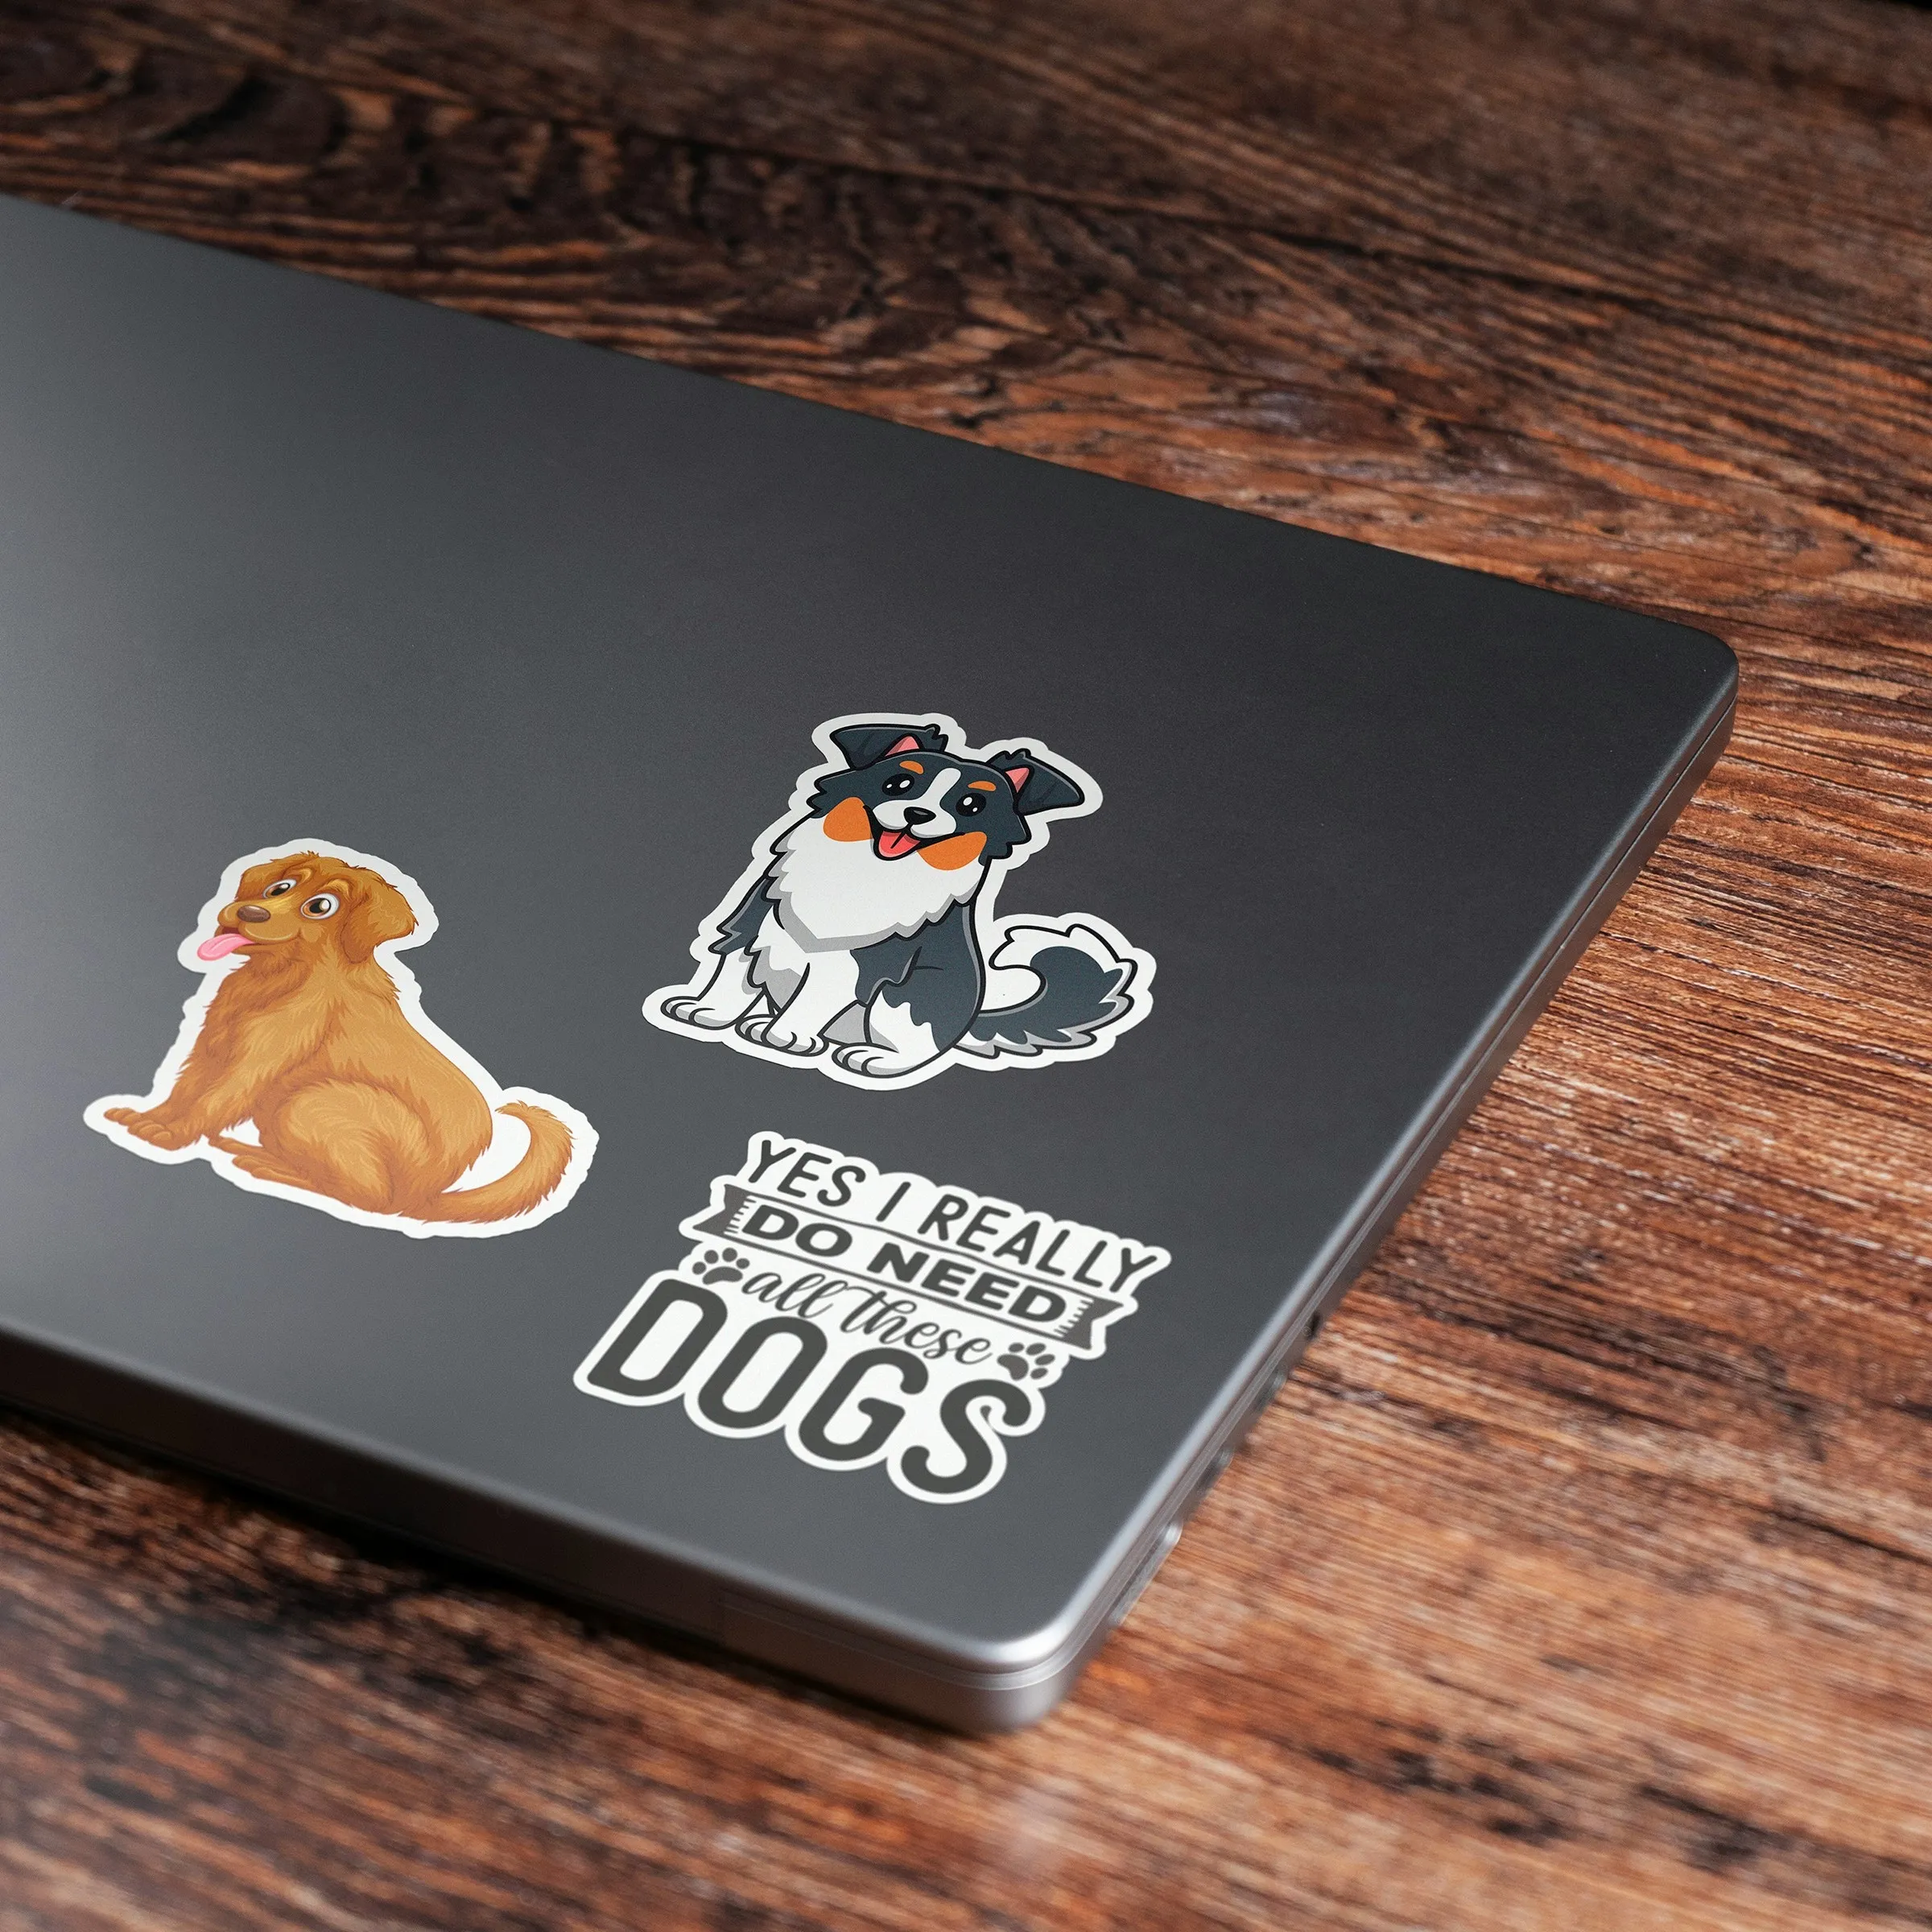
Die-cut stickers generally stick best to smooth, clean, dry, and nonporous surfaces. Rough, dusty, flexible, or heavily textured materials may not provide enough direct contact for the adhesive.
| Suitable surfaces | Potentially difficult surfaces |
|---|---|
| Clean glass | Rough walls |
| Smooth metal | Dusty or unsealed wood |
| Sealed plastic | Silicone surfaces |
| Laptop covers | Fabric |
| Finished water bottles | Heavily textured plastic |
| Smooth windows | Freshly painted surfaces |
| Sealed containers | Oily or waxed surfaces |
Stickers adhere best to smooth and nonporous surfaces like glass, metal, plastic, and finished items. These materials allow the adhesive to form a strong bond when the surface is properly cleaned and prepared. Removing dirt and contaminants is essential for a long-lasting hold.
Rough, textured, dusty, or silicone surfaces often prevent proper adhesion. Fresh paint can be sensitive to permanent stickers and might be damaged upon removal. Always verify surface compatibility and follow manufacturer instructions before applying decals to valuable items.
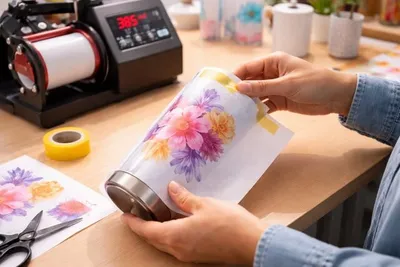
Can You Put Die Cut Stickers On Water Bottles?
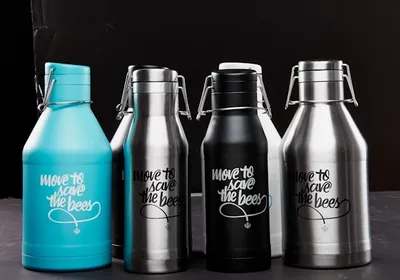
Apply vinyl stickers to water bottles with smooth surfaces free of silicone. Verify if the sticker is waterproof because water-resistant versions might fail with heavy washing. Hand washing best protects your design. Keep the decal away from curves or moving parts where friction causes lifting.
Allow the adhesive to cure before cleaning the bottle. Avoid harsh scrubbing and heat to preserve the sticker. Proper care ensures your design remains functional. Simple maintenance prevents peeling and helps your personalized bottle stand out as a durable accessory for daily use.
Should You Apply Die Cut Decals Wet Or Dry?
Most small and medium stickers require dry application for the best results. Wet application only suits specific large graphics when the manufacturer advises it since it does not work everywhere.
| Dry application | Wet application |
|---|---|
| Provides immediate adhesive contact | Allows limited repositioning |
| Requires accurate initial placement | Requires more drying time |
| Works for most small stickers | May suit certain large vinyl graphics |
| Usually works with transfer tape | May interfere with transfer tape |
| Can trap air if applied too quickly | Can trap liquid beneath the vinyl |
| Follows most standard instructions | Requires manufacturer approval |
Dry application remains the most reliable method for most stickers. By pressing the decal directly onto a clean and fully dry surface, you ensure strong contact. This technique is best for standard designs because it avoids potential issues with trapped liquid or adhesive interference.
While wet application allows for limited repositioning, it is only appropriate when manufacturer guidelines explicitly permit it. Using incorrect liquids often causes cloudy residue and weak bonding. Always choose the dry method unless instructions clearly state otherwise to guarantee a secure finish.
Can You Apply A Vinyl Decal Windex Or Soapy Water?
Never use Windex as an application fluid. Many formulas include ammonia or harsh fragrances that damage vinyl adhesives and delicate surface finishes. Stick to the specific liquids or dilutions recommended by your sticker manufacturer if they permit a wet installation process.
Understand the difference between cleaning a surface and applying liquid beneath a decal. Cleaning must remove all residue before drying the area. When instructions are unclear, dry application remains the safest method to ensure a secure bond and avoid accidental damage.
Looking for custom stickers with an eye-catching finish?
Add a rainbow effect to your logo, artwork, or promotional design with custom holographic stickers. Explore size and quantity options to find a combination that suits your project and budget.
Get started with custom holographic stickers hereHow Can You Make A Die Cut Sticker Stay On Longer?
Long-lasting adhesion depends on surface compatibility, cleanliness, firm pressure, and adequate bonding time.
- Select a sticker made for the intended environment.
- Apply it to a clean and compatible surface.
- Dry the surface completely before installation.
- Avoid touching the exposed adhesive.
- Press the center and edges firmly.
- Allow enough time for the adhesive to bond.
- Avoid immediate washing or moisture.
- Reduce friction around corners and pointed edges.
- Follow the manufacturer’s curing instructions.
Avoid external glues like superglue or craft spray, as they damage stickers and surfaces. Instead of modifying inappropriate stickers with household adhesives, select the right material initially. Opt for premium vinyl stickers when durability and weather resistance are needed to ensure long-lasting, high-quality performance.
What Is The Best Temperature For Applying Die Cut Stickers?
Vinyl adhesive performs best in moderate, room-temperature conditions. Extreme temperatures can compromise the bond; cold makes the material stiff, reducing initial tack, while excessive heat can make vinyl soft, causing it to stretch or wrinkle during application.
Always bring your materials to room temperature before starting. Work in a dry, sheltered environment, avoiding direct sunlight, high winds, or condensation to ensure the adhesive forms a secure, long-lasting connection. Proper environmental control is essential for a smooth, professional-quality finish.
Frequently Asked Questions About How To Apply Die Cut Stickers
How Do You Apply Die Cut Stickers Without Bubbles?
Clean and dry your surface first. Anchor one edge of the sticker after peeling back a small portion of the backing. Gradually lower and smooth from the center outward using a squeegee, avoiding full backing removal until necessary.
What Is The Easiest Way To Apply A Large Die Cut Sticker?
The hinge method simplifies applying large stickers. Secure the unpeeled sticker’s center with masking tape to create a hinge, then apply one side at a time by gradually removing the backing. Smooth from the center outward, remove the tape, and finish the second half. Assistance helps with wider decals.