How To Make Chocolate At Home: A Beginner-Friendly Guide
When learning how to make chocolates, the first decision is choosing a method. Using cocoa powder offers a simple kitchen shortcut, while processing cocoa beans is a longer process. In this guide, we explain ingredients, mixing, molding, and tempering so you can choose an approach and understand what to expect.

Key Takeaways
- Cocoa powder, cocoa butter, and powdered sugar form a simple homemade base.
- Coconut oil produces softer chocolate that usually needs refrigeration.
- Dry equipment and finely powdered ingredients help prevent mixing problems.
- Starting with beans requires roasting, shell removal, and specialist grinding.
- Tempering helps cocoa butter chocolate set firmly and release from molds.
Table of contents
-
How To Make Chocolate
-
What Ingredients Do You Need To Make Chocolate At Home?
-
How Do You Make Chocolate From Cocoa Beans?
-
Do You Need To Temper Homemade Chocolate?
-
Why Does Homemade Chocolate Turn Soft, Sticky, Streaky, or Cracked?
-
Can You Make Dark Chocolate, Milk Chocolate And White Chocolate At Home?
How To Make Chocolate
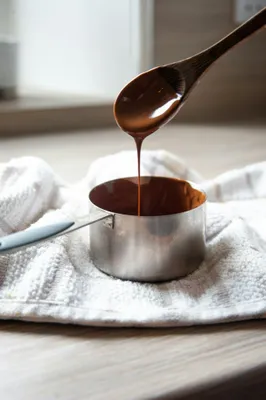
The simplest way to make chocolate at home is to gently melt cocoa butter or coconut oil, then stir in sifted cocoa powder and powdered sugar. Mix until evenly combined. Pour into dry molds and let it set. Cocoa butter gives a firmer result, while coconut oil usually requires refrigeration. The exact process to follow is as follows:
- Melt the chosen fat gently.
- Sift the cocoa powder and powdered sugar.
- Gradually combine the ingredients.
- Pour into clean, dry molds.
- Allow the pieces to set completely.
For a small practice batch, try 50g of food-grade cocoa butter, 30g of unsweetened cocoa powder, and 20g of powdered sugar. This is a starting formulation rather than a tested recipe with guaranteed setting times.
The melted butter should look clear and pale yellow. After mixing, the chocolate should appear uniformly brown with no dry pockets. A spoon-mixed batch may still feel slightly gritty because sifting removes clumps without refining individual particles.
What Equipment Do You Need To Make Chocolate At Home?
The basic kitchen tools you need to make chocolate include a digital scale, a heatproof bowl, a saucepan, a spatula, a fine sieve, and a dry silicone mold. A lined shallow container also works well if you do not have a mold. Use a bowl over gently steaming water to melt the fat. Make sure to keep its base above the water and prevent steam or splashes from entering the bowl.
A digital thermometer is useful for melting and essential when following a tempering curve. A spatula helps scrape powder from the bowl walls while pouring, while a pouring jug makes small cavities easy to fill. There are optional specialist tools like rigid chocolate molds, a clean cracker, a winnower, and a chocolate melanger. These tools only become relevant when starting with beans or pursuing a smoother finish; however, ordinary tools are sufficient for the simple method using cocoa powder.
How Do You Melt And Mix Chocolate Without Lumps?
The process to melt and mix chocolate without lumps is as follows:
- Melt the cocoa butter gently, stirring until pieces soften.
- Sift cocoa powder and powdered sugar into a separate dry bowl.
- Add the powder mixture gradually to the melted fat.
- Stir and scrape the bottom and sides after each addition.
- Continue until no visible dry clumps remain.
This process gently gives you more control and reduces scorching. Shifting breaks apart compacted powder before fat coats it, and the finished texture should coat the spatula evenly. If small crumbs remain, press them against the bowl with the spatula. Fully mix the mixture thoroughly, warming gently while stirring. Do not add water to a thin batch intended for solid chocolate. Water changes the formulation and can cause melted chocolate to seize. Assisting fine grittiness requires finer ingredients or refining rather than stronger stirring.
How Do You Mold And Set Homemade Chocolate?
Making chocolate at home is simpler when using cocoa butter, cocoa powder, and sugar, and it is more advanced when starting from raw beans. The process involves melting fat, sifting ingredients, combining them, and pouring into molds. While using cocoa powder offers a quick shortcut, beans require roasting, cracking, and grinding.
Proper temperature control ensures great results. Tempering cocoa butter helps chocolate set firmly with a clean snap and easy release, while coconut oil needs refrigeration. Attention to clean equipment and stable storage prevents graininess or moisture damage, ensuring successfully crafted homemade treats.
Make a sweet impression with custom chocolate
Inspired by learning how to make chocolate at home? Turn that inspiration into thoughtful gifts for customers, clients, or event guests. Explore custom chocolate options to give your next celebration or promotional campaign a personal touch.
What Ingredients Do You Need To Make Chocolate At Home?
| Ingredient | Purpose. |
|---|---|
| Unsweetened cocoa powder | Adds the cocoa flavor and brown color. |
| Food-grade cocoa butter | Provides the characteristic chocolate fat and firmer structure |
| Coconut oil. | Offers a softer alternative to refrigerated treats |
| Powdered sugar | Adds sweetness with less obvious grit than coarse sugar. |
| Milk powder | Adds dairy flavor and changes the texture. |
| Lecithin | Can adjust flow when used carefully in small amounts |
| Flavorings | Add vanilla, spice, or other complementary flavors. |
| Toppings and mix-ins | They add crunch, decoration, and contrasting tastes |
The simplest version of homemade chocolate uses cocoa powder, cocoa butter, and powdered sugar. Milk powder is a fourth ingredient for a milk chocolate-style version, although adding it also changes the balance of solids and fat. Choose food-grade cocoa butter rather than a cosmetic product. Coconut oil is not an equivalent replacement if your goal is a firm-tempered bar. Dry ingredients suit solid chocolate better than liquid milk or watery sweeteners.
Chocolate alchemy explains ingredient selection, including why alternative fats can affect setting. A bar labeled 100% chocolate contains only cocoa-derived ingredients with no added sugar. It does not mean pure cocoa powder. A sweetened homemade powder mixture differs from unsweetened cocoa mass.
Need custom chocolate shapes for your next giveaway or celebration?
Choose chocolate shapes that complement your occasion and make your gifts memorable. Explore specialty options for business promotions, themed events, and personal celebrations, then select a design that suits your recipients.
Explore options for custom chocolate shapes hereHow Do You Make Chocolate From Cocoa Beans?
Starting with beans gives you control over flavor development but involves more work than combining cocoa powder with fat. The process is as follows:
- Sort the beans.
- Roast using a suitable profile.
- Crack the cooled beans.
- Winnow away the shells.
- Grind the nibs into cocoa mass.
- Refine and conch with the other ingredients.
- Temper the finished chocolate.
- Mold and set it.
When starting with the beans, budget for equipment, cleanup, and a process that may extend across several days. Buying roasted nibs removes the roasting and shell removal stages. Begin with one bean variety and a small documented batch. Record ingredient weights and processing choices so you can repeat a result or identify what needs changing. A melanger has a minimum practical batch size, so check its instructions before purchasing ingredients.
How Do You Roast Cocoa Beans At Home?
Sort raw cocoa beans thoroughly before roasting to remove any stones, debris, moldy pieces, and damaged beans. Separate unusually small beans whenever possible because mixed sizes roast unevenly. Raw fermented beans require roasting, whereas pre-roasted beans allow you to move directly to cracking. An oven is easily accessible, but a dedicated drum or coffee roaster provides far better temperature control. Follow a specific profile designed for your equipment and bean variety rather than applying a universal setting.
Watch for rich cocoa aromas and even batch results, but remember that aroma alone does not guarantee safety, while burnt smells signal excess heat. For your first attempt, pre-roasted nibs simplify the process, but if you roast whole beans yourself, adjust only one variable at a time and log your process.
How Do You Crack And Winnow Cocoa Beans?
Cracking breaks roasted beans into coarse fragments, while winnowing efficiently separates the light outer shells from the heavier edible nibs. For small batches, you can easily place cooled beans inside a sturdy food bag and gently press them with a rolling pin instead of crushing them into powder.
Transfer the cracked pieces into a wide bowl and use gentle airflow to carry away loose shells while the clean nibs remain. Because excessive crushing complicates the separation process, you should always inspect your nibs carefully before grinding and invest in dedicated equipment as your production batches grow.
How Do You Turn Cocoa Nibs Into Smooth Chocolate?
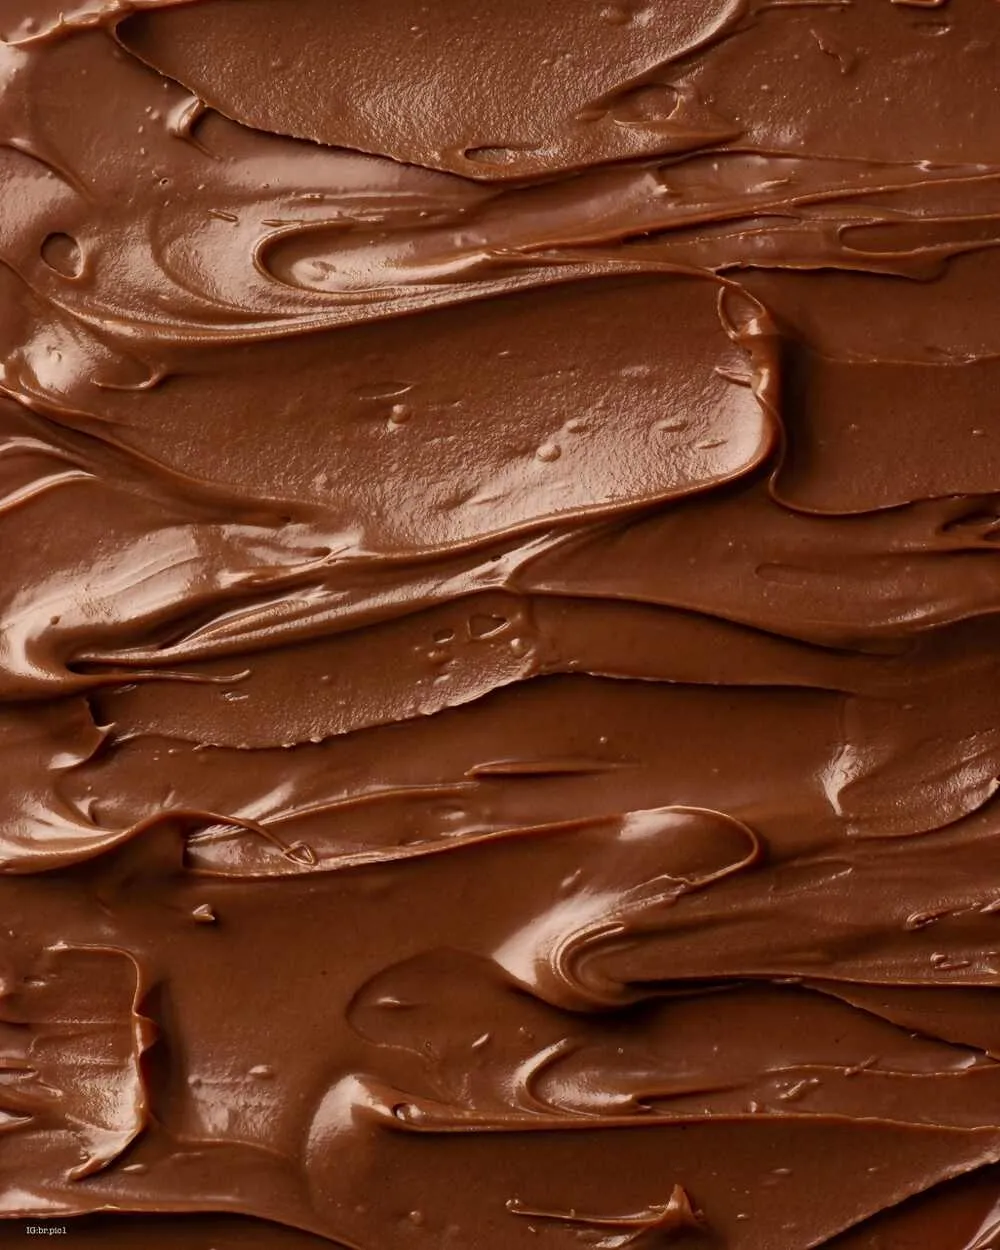
Grinding breaks cocoa nibs down to release their fat and produce a thick cocoa paste, after which refining reduces the size of cocoa and sugar particles to ensure a smooth texture. Conching then develops flavor through continued mixing, aeration, and controlled warmth, allowing a tabletop chocolate melanger to perform both refining and conching together.
A standard food processor may produce a coarse paste. It usually cannot create the smoothness expected for a commercial bar. Although the mixture can initially look thick and uneven, processing makes it more cohesive so that it flows more readily. Chocolate alchemy describes refining and conching and gives roughly 24 to 48 hours as a common processing range. Actual requirements depend on the ingredients, equipment, and your desired finish.
Do You Need To Temper Homemade Chocolate?
When making chocolate that relies on cocoa butter and you want firm pieces with a clean snap, an even finish, and reliable mold release, tempering is relevant. In contrast, a coconut oil version is handled differently and usually chilled, as tempering cannot make a coconut oil formulation behave like a conventional cocoa butter bar. Tempering encourages the cocoa butter in chocolate to form stable crystals through controlled temperature changes, which means you do not need professional equipment. However, you do need a suitable thermometer, careful stirring, and guidance that matches your specific chocolate.
Although an untempered cocoa butter batch may still become solid when chilled, its appearance and overall stability can be less predictable. For the best results, treat tempering as a separate skill after learning to combine your ingredients consistently, especially since changes to fat content or milk powder can significantly affect how a homemade formulation behaves.
How Do You Temper Chocolate Using The Seeding Method?
The seeding method goes as follows:
- Reserve some correctly tempered chocolate compatible with your batch.
- Melt the main portion according to its recommended temperature curve.
- Remove it from the heat.
- Add seed chocolate gradually while stirring.
- Continue cooling toward the specified working temperature.
- Remove any remaining solid seed before molding.
Seed chocolate provides stable cocoa butter crystals that help guide the melted batch as it cools.
Callebaut describes tempering with seed chocolate, including cooling melted chocolate toward approximately 31 degrees Celsius for dark chocolate. Milk and white chocolate require different targets, and individual products have their own curves.
Measure the chocolate itself without touching the bowl with the probe. Stir before reading the temperature. For an unfamiliar homemade formulation, use a small temper test. Microwave tempering is another option but still requires controlled heating and a method suited to the chocolate.
How Can You Tell If Chocolate Is Tempered Correctly?
Spread a thin smear on baking parchment or a clean spatula. Leave it in a cool room while keeping the remaining batch at its working temperature.
| Signs of good temper | Signs that need attention |
|---|---|
| Sets evenly into a firm layer. | Remains soft or tacky. |
| Has an even surface. | Develops pale streaks or patches. |
| Releases cleanly after setting. | Sticks or bends during removal. |
| Has a firm break when sufficiently thick. | Feels weak or unusually crumbly. |
Do not judge by gloss alone. Silicone and textured molds can produce different finishes. Warm surroundings also delay setting, even when chocolate is correctly tempered. If the test remains soft in suitable conditions or develops streaks, adjust or repeat tempering before filling every mold.
Give chocolate bars a personal touch with custom wrappers
Bring your branding or celebration theme to the presentation of your chocolate gifts. Explore custom wrapper bars for customer appreciation, event favors, and promotional giveaways that carry your message.
Why Does Homemade Chocolate Turn Soft, Sticky, Streaky, or Cracked?
| Symptom | Likely cause | Practical fix |
|---|---|---|
| Too soft or melty | Warm storage, coconut oil, or unsuitable fat balance. | Chill coconut oil versions. Review cocoa butter formulation and tempering. |
| Smooth white streaks | Fat bloom from unstable temper or temperature changes. | Remelt and temper suitable chocolate. Keep storage conditions stable. |
| Rough white spots | Sugar bloom caused by moisture. | Prevent condensation. Use affected chocolate in baking if otherwise sound. |
| Burnt taste | Excessive heat during melting or processing. | Start again if scorched. Use gentler heat next time. |
| Sticky or wet surface | Condensation during cooling or storage. | Protect from moisture and warm-sealed containers before opening. |
| Cracked pieces | Forced removal or abrupt cooling. | Let pieces set fully and release gently. |
Mixing faults appear before molding, while tempering faults often become visible during setting. Storage problems can develop after a previously successful batch. Lake Champlain Chocolates explains chocolate bloom, distinguishing moisture-related sugar bloom from fat bloom. Discoloration alone does not identify every possible problem. Do not assume fuzzy growth or an unusual odor is a harmless bloom. Keep molds and storage containers clean and dry.
Looking for custom chocolate for your next project?
Planning chocolate gifts without making every piece yourself? Browse our chocolate selection, compare available products and order quantities, and choose an option that suits your occasion and budget.
Get started with custom chocolate hereCan You Make Dark Chocolate, Milk Chocolate And White Chocolate At Home?
| Version | Basic formulation change | Expected flavor |
|---|---|---|
| Dark chocolate | Cocoa ingredients and sugar, without milk powder. | Stronger cocoa flavor. |
| Milk chocolate | Cocoa ingredients, sugar, and milk powder. | Sweeter, creamier cocoa flavor. |
| White chocolate | Cocoa butter, sugar, and milk ingredients, without cocoa powder. | Sweet dairy and cocoa butter notes. |
Milk powder contributes necessary dairy solids without introducing liquid moisture, but increasing the powder without adjusting fat can make the mixture far too thick. White chocolate relies on cocoa butter even though it lacks the brown cocoa solids found in dark and milk varieties, which is a distinction supported by official standards.
Starting with your preferred flavor is practical, so dark chocolate provides a straightforward base before introducing extra solids that require extra refining. Once the base performs consistently, you can experiment by adding single ingredients such as dry spices, toasted nuts, or selected flavorings.
Frequently Asked Questions About How To Make Chocolate
How Do You Make Chocolate From Scratch?
For a simple kitchen version, combine melted cocoa butter with sifted cocoa powder and powdered sugar, then mold and set it. Starting from beans additionally requires roasting, cracking, winnowing, grinding, refining, and conching before tempering and molding.
Can You Make Chocolate With Cocoa Powder?
Yes. Unsweetened cocoa powder supplies cocoa flavor when combined with suitable fat and sugar. Expect a more rustic texture than professionally refined chocolate. Cocoa butter suits firmer bars, while coconut oil produces softer treats best kept chilled.