How To Set Up A Feather Flag: A Simple Step-By-Step Guide
Setting up a feather flag is usually quick once you understand how the pole, sleeve, tension cord, and base connect. This guide explains each stage clearly, from checking the kit to choosing a stable base and caring for the finished display.
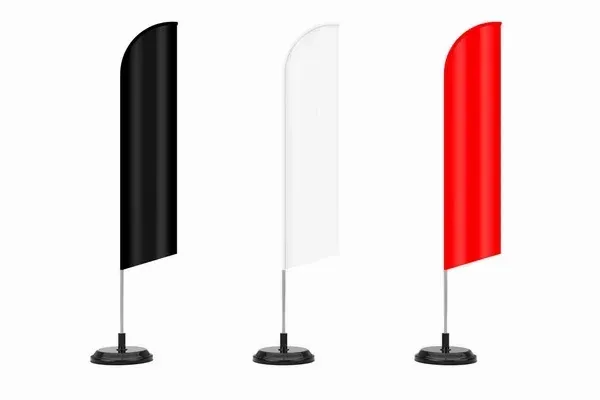

Key Takeaways
- Lay out every component before beginning the setup.
- Connect pole sections gently without forcing the joints.
- Slide the banner sleeve evenly over the curved pole.
- Match the base to the surface, flag height, and wind conditions.
- Remove the flag during severe weather and store it in a dry place.
How To Set Up A Feather Flag
The fundamental process for how to set up a feather flag involves organizing components, connecting pole sections, sliding the sleeve over the frame, fastening tension cords, and securing the assembly into a suitable base. Always inspect every connection thoroughly before positioning your display.
Initial assembly can feel confusing as pole sections often appear similar. You must connect the curved top, straight segments, spindle, and base in the correct order. Always work on a clean, flat surface to ensure no components are lost or damaged during setup.
The exact procedure varies based on flag size, design, and location. Review manufacturer instructions for specific pole sequences, tension settings, and base requirements. Adhering to these guidelines reduces fabric strain and ensures your hardware remains stable and durable for reliable, professional, and long-term use.
Make a strong impression with custom feather flags
Turn your logo, promotional message, or event artwork into high-quality custom feather flags designed to attract attention at storefronts, trade shows, festivals, and outdoor events.
How Do You Assemble A Feather Flag Step-By-Step?
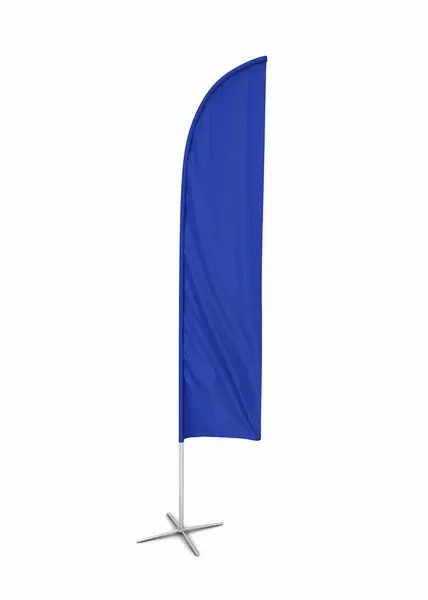
Use this numbered feather flag assembly process to complete the setup safely and efficiently:
- Open the carrying bag and place every part on a clean surface.
- Compare the contents with the product instructions or packing list.
- Identify the base, lower pole section, middle section, and curved top section.
- Connect the pole sections in order, starting with the widest lower section.
- Push each connection together until it is secure, but do not force tight joints
- Guide the narrow pole tip into the opening of the flag sleeve.
- Slide the sleeve gradually over the curved pole and down the frame.
- Smooth the fabric so it is not twisted around the pole.
- Attach the elastic cord hook or tension loop at the bottom of the flag.
- Insert the complete pole into the spindle or receiving point on the base.
- Check that the pole can rotate freely when the design includes a rotating spindle.
- Move the display into its final location and confirm that it is stable.
Most kits use connected pole sections, a fabric sleeve, an elastic tension cord, and a separate base. Understanding these basic parts makes it easier to know how to assemble a feather flag. Never force two pole pieces together. If a joint feels blocked, separate the pieces and check their order. Excessive pressure can crack a connector, bend a pole, or make future disassembly difficult. This is especially important when completing the setup quickly before customers, guests, or event visitors arrive.
What Parts Come With A Feather Flag Kit?
Items in the checklist below come with a feather flag kit. Make sure you have these before starting the feather flag installation:
- A printed feather flag
- A lower pole section
- One or more middle pole sections
- Flexible curved pole tips
- Elastic tension cord and hook
- A carrying bag
- Base spindle or pole receiver
- Ground spike for soft surfaces, when included
- Cross base or scissor base for hard surfaces, when included
- Water ballast or weight bag, when included
The contents of a feather flag kit vary by product and supplier. In some packages, there is only the flag and pole, while the base must be purchased separately. Others include several base choices for different environments. Make sure to check every component before traveling to an outdoor location. Discovering that a pole section, tension cord, or base is missing after arriving can prevent the flag from being displayed safely.
How Do You Attach The Banner To The Pole?
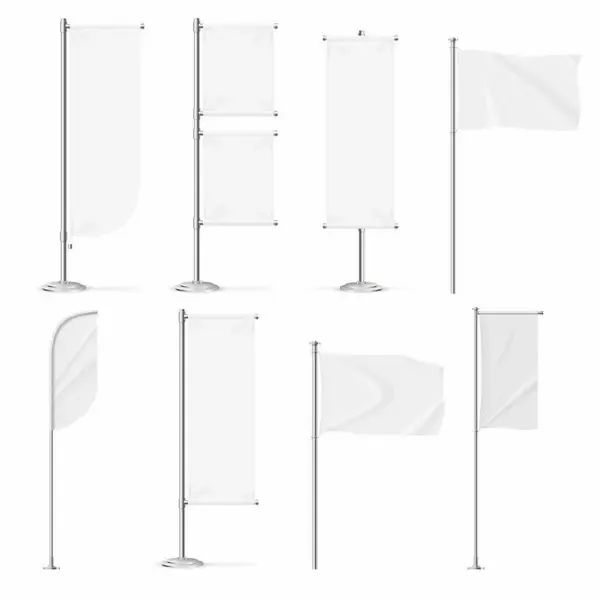
When attaching the banner to the pole, you need to:
- Assemble the full pole before attaching the banner, unless the manufacturer directs otherwise.
- Locate the sleeve opening on the side of the flag and guide the narrow pole tip into it.
- Push the fabric gently along the frame rather than pulling hard from the bottom.
- The curved pole creates the familiar feather shape, so the sleeve should follow the band evenly.
- Stop and straighten the material if it twists or catches on a connector.
- When the sleeve reaches the lower section, secure the bottom of the banner with the supplied elastic cord, hook, or tension loop.
- Apply enough tension to keep the flag open and reachable
Do not pull the cord excessively, as too much tension can strain the stitching, stretch the sleeve, or place unnecessary pressure on the pole
Can You Make Your Own Feather Flag Pole?
While creating a homemade pole is possible, it rarely matches the fit, stability, or flexibility of professional commercial hardware. A proper feather flag pole requires specific curvature to support the fabric without causing damage. Poorly designed joints may separate during use, while incorrect curves often result in loose fabric, excessive tension, or damaged seams.
An unsuitable base or improper pole can also create hazards for customers or pedestrians. For safer results, consider purchasing a replacement pole designed for your flag size. Compatible hardware kits are often more cost-effective than replacing an entire display, ensuring safety and professional quality.
Need custom flags for your next promotional display?
Explore customizable flag styles for roadside advertising, event entrances, trade show booths, and business promotions, with options suited to different spaces and viewing directions.
Explore custom flag options hereWhich Feather Flag Base Should You Use?
The correct base depends on the ground surface, wind exposure, flag height, and whether the display will be used indoors or outdoors.
| Base type | Best use case |
|---|---|
| Ground spike | Grass, soil, compact sand, and other soft outdoor surfaces |
| 4-leg scissor base | Pavement, concrete, event spaces, and general hard surfaces |
| 3-leg scissor base | Shorter flags and temporary displays on level hard surfaces |
| Cross base | Indoor floors, trade show booths, and sheltered outdoor areas |
| Water ballast | Extra weight for cross bases, scissor bases, and taller displays |
Ground spikes provide reliable support in firm soil, whereas cross and scissor bases are ideal for non-pierceable surfaces. Water ballast adds necessary stability for taller displays. Always place your flag on level ground, ensuring the base remains clear of pedestrian pathways to avoid tripping hazards.
Remember that heavy bases do not guarantee immunity against all weather conditions; severe or unpredictable winds can still damage hardware, so always adhere to the manufacturer's specific wind guidance.
When Should You Use A Ground Spike Base?
Ground spikes provide excellent stability for feather flags when used in outdoor environments such as grass, soil, or firm sand. These bases are especially effective for storefront lawns and roadside events. To install one correctly, position the spike vertically and press it firmly into the earth. You should always apply downward pressure to the reinforced part of the hardware rather than the rotating spindle. Striking the spindle directly can bend the metal and prevent the flag from turning smoothly with the wind. A secure, vertical placement ensures the flag remains upright throughout the day.
Before inserting the pole, confirm that the spike is seated firmly and does not wobble. The assembly requires enough clearance to rotate without hitting walls, branches, or pedestrians. If the local soil is too loose to support the display, relocate the flag to firmer ground or switch to a weighted surface base. Avoiding unstable locations prevents the flag from leaning or falling, which protects both the hardware and nearby visitors. Maintaining a stable foundation is the most important step for a professional and safe promotional display.
When Should You Use A Scissor Base Or Water Ballast?
Scissor and cross bases offer reliable stability for concrete, tile, and pavement surfaces. Their foldable design ensures they are convenient for transport, making them excellent for temporary events. These bases provide a sturdy foundation for displays on flat, hard ground.
Use a water ballast unit to add significant weight. This is effective for taller flags or areas with light wind. Always fill the ballast after placing the base in its final position, as carrying a full unit is difficult and unnecessary.
Choose a base based on the flag's weight and height, not just portability. Lightweight bases rarely provide enough support in windy conditions. While indoor displays may not require ballast, outdoor setups benefit from added weight, provided you remove flags during severe weather to ensure hardware safety.
How Do You Keep A Feather Flag From Spinning Too Much?
Some rotation is normal. Feather flags are designed to move with the wind rather than resist every change in airflow. Excessive or irregular spinning may indicate a setup problem. Use these troubleshooting steps.
- Check that every pole section is fully connected.
- Confirm that the lower pole is seated correctly in the base spindle.
- Tighten loose base hardware without overtightening plastic fittings.
- Make sure the rotating spindle is present and moving smoothly.
- Move the base from sloped or uneven ground to a level surface.
- Add compatible water ballast or a weight bag when the base is too light.
- Position the flag away from corners where buildings create turbulent airflow.
- Remove the flag when the wind becomes too strong for safe use.
A flag that spins continuously, leans sharply, or causes the base to lift is not simply fluttering. Stop using it until the base, pole, and conditions have been checked.
How Does A Feather Flag Work In The Wind?
A feather flag integrates a flexible pole with a curved banner, allowing rotation to minimize wind resistance and maintain visibility. While light fluttering is normal, excessive shaking or leaning signals instability. This design manages airflow but cannot withstand severe weather. High winds may damage fabric, seams, or hardware. Always follow manufacturer wind limit recommendations for your specific model to protect your display and ensure safe, reliable, and long-lasting performance.
How Long Do Feather Flags Last With Proper Care?
A feather flag's lifespan depends on fabric quality, exposure to weather, and regular care, with occasional use extending its durability. Use this checklist to make sure your feather flag is in proper condition:
- Remove the flag during severe weather.
- Allow wet fabric to dry fully before packing it.
- Clean marks gently with mild soap and cool water.
- Avoid harsh bleach and aggressive scrubbing.
- Fold or roll the fabric without crushing printed areas.
- Store poles and fabric in a dry carrying bag.
- Keep sharp hardware away from the folded banner.
- Inspect seams, cords, joints, and bases before reuse
Build a complete branded display for your next event
Combine custom flags with banners and other personalized displays to create a coordinated promotional setup that increases visibility and helps visitors recognize your brand.
What Is The Most Popular Feather Flag Size?
Selecting the perfect feather flag size depends on your specific environment and goals. For indoor counters and trade show booths, small flags provide an effective, space-conscious solution. Medium flags are widely preferred for storefronts and sidewalks, where they successfully balance visibility with a manageable physical footprint.
When planning your display, consider the necessary viewing distance and available area. A small flag might go unnoticed from the road, whereas an excessively tall display could overwhelm low ceilings or narrow pathways. Always measure your total height, accounting for the base, pole, and potential environmental obstructions like signage, doorways, or overhead fixtures.
For optimal results, match your flag size to the intended application. Taller models thrive in open outdoor spaces, while smaller versions are ideal for indoor settings. Always verify total display specifications before ordering to ensure the perfect fit for your space.
Are Feather Flags Double-Sided Or Single-Sided?
Single-sided and double-sided flags differ in printing method, visibility, weight, and cost.
| Feature | Single-sided flag | Double-sided flag |
|---|---|---|
| Printing | Printed mainly on one side | Separate print visible on both sides |
| Reverse view | Often appears mirrored | Usually reads correctly from both sides |
| Internal layer | Usually none | Often includes a blockout layer |
| Weight | Lighter | Heavier |
| Cost | Usually lower | Usually higher |
| Best use | Traffic mainly approaches from one direction | Viewers approach from both directions |
Single-sided flags feature mirrored reverse images, making them lightweight and cost-effective for one-way traffic. Double-sided flags use two panels with a blockout layer to ensure the design reads correctly from both directions, providing superior visibility for displays meant to capture attention from multiple viewing angles.
Looking for versatile flags for trade shows and events?
Choose from feather, teardrop, concave, blade, giant, and other customizable flag shapes to create a professional display suited to your venue, available space, and promotional goals.
Shop trade show flags hereWhat Is Another Name For A Feather Flag?
Feather flags are often called feather banners, sail flags, blade flags, advertising flags, or promotional flags depending on regional marketing. These terms do not describe identical products, as blade or sail flags have unique shapes. Always verify dimensions, pole construction, sleeve configuration, and base requirements before choosing a display. Comparing specific banner types or hardware configurations ensures you select the correct solution for your specific promotional needs and environment.
Teardrop Flag Vs Feather Flag
Feather flags are typically tall with a flowing outer edge, providing a large vertical area ideal for logos, short messages, and eye-catching movement along roadsides or at events. In contrast, a teardrop flag features a tighter, more enclosed curved shape that keeps the fabric under constant tension. This design allows for less movement, which can improve the readability of information in specific settings where a consistently stretched display is preferred for visual clarity.
While both designs share similar setup principles, their pole curves and tension points differ significantly. Always verify hardware compatibility before attempting to interchange components between these two distinct styles. Consulting a dedicated banner comparison guide can help you effectively evaluate the shape, movement, visibility, and spatial requirements of each option, ensuring you select the best solution for your unique promotional environment.
Frequently Asked Questions About How To Set Up A Feather Flag
How Do You Set Up A Feather Flag?
To complete how to put together a feather flag, connect pole sections in order, slide the sleeve onto the pole, attach the tension cord, and secure it into the base. Verify the setup is level and rotates safely. Always follow manufacturer instructions on how to assemble a feather flag properly.
How Long Does It Take To Set Up A Feather Flag?
A standard setup takes minutes, though initial efforts may require more time to organize parts, tension cords, and bases. Always allocate extra time for ballasts or tall flags, as careful feather flag assembly is vital to prevent hardware damage