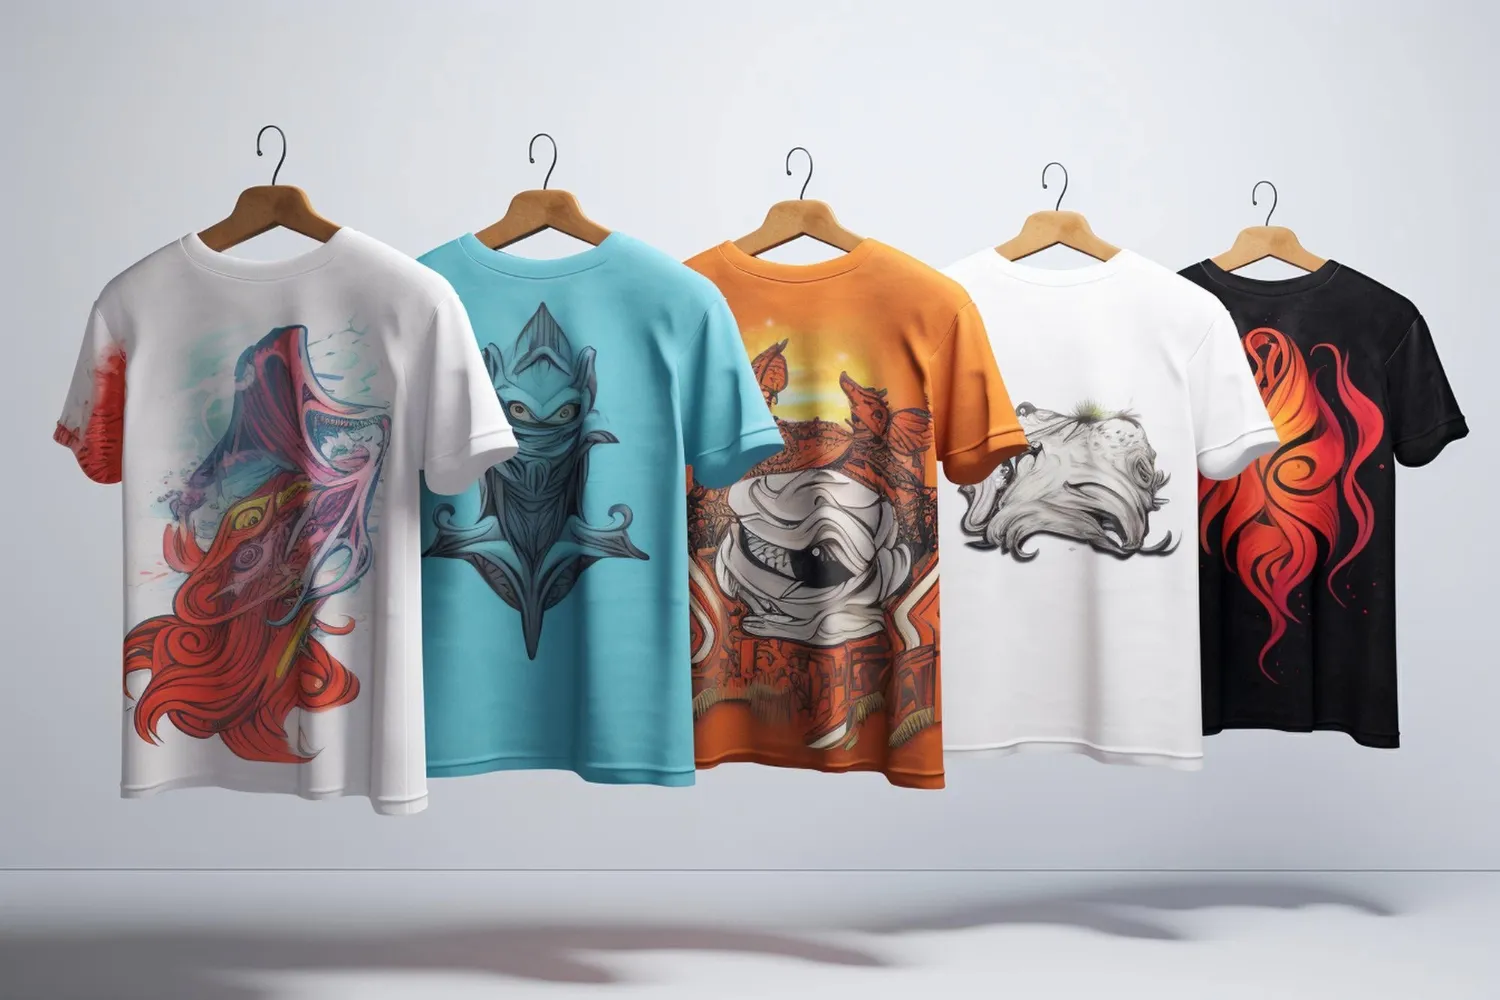
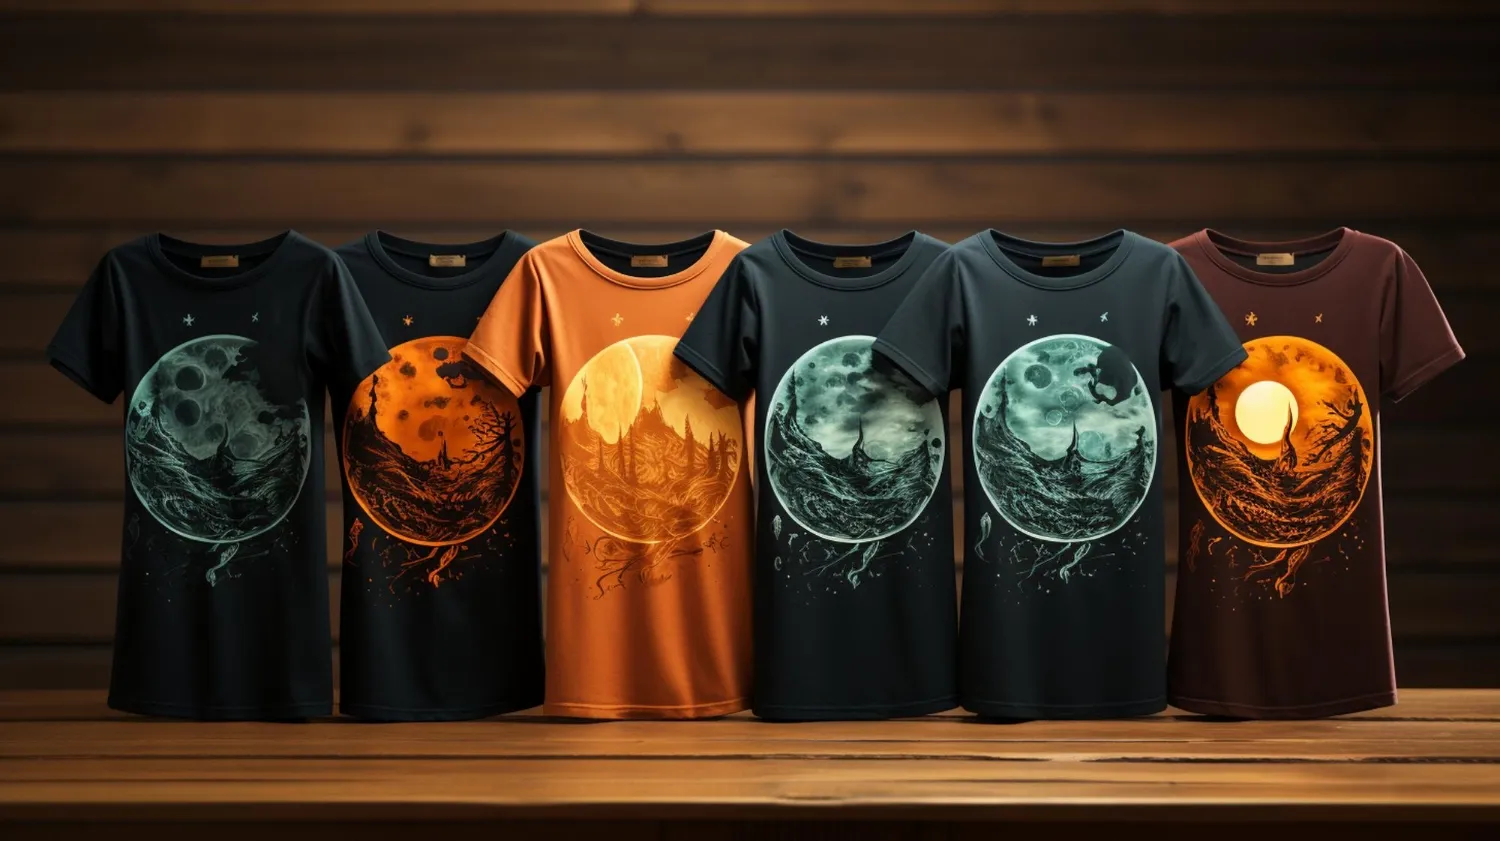
How to Make Custom Shirts: A Step-By-Step Guide to Success
Plenty of wardrobes are filled with shirts in all colors and styles – they’re simple, stylish, and versatile to wear in almost any weather. But you don’t necessarily need to buy shirts from stores and pick from other people’s designs. Making your own is much easier than you might think.
This guide will explore how to make custom shirts, step by step.

Step 1 of How to Make Custom Shirts: Gathering the Supplies
Learning how to make custom shirts begins by gathering all the essential items you’ll need. There are a few different ways to do this. This guide will focus on one of the most convenient and affordable methods – using an iron and transfer paper, along with a few other standard bits of equipment:
- One or more shirts (plain, in any colors you like)
- An iron
- Some transfer paper
- A printer
- Scissors or a craft knife
- Design software

Step 2: Making Your Own Design
The next step of how to make custom shirts is the design phase. This is where you’ll get to flex your creative muscles, coming up with unique designs to adorn your shirts. Once again, there are a few ways to go about this, and here are some strategies to consider:
- You can simply grab some paper and pencils and brainstorm some ideas. If you’re a skilled sketch artist, you can even start drawing your design on sketch paper. Later on, you could scan it into the computer and use it as a base for your design.
- Prefer working on a computer? You can do that, too. Simply load up your favorite design software and get to work. While tablets are basically made for this, it can be done on a desktop device, a laptop, or even a phone. You can download lots of great creative programs that can help you make a winning design.
- You might already have an image or photograph that you want to print onto your shirts. In that case, you barely have to do any work at all. Simply find the photo or image and make any relevant adjustments, such as cropping out unwanted parts or changing the size to fit. Just pay attention to copyright protection and fair use laws.
- Remember to think carefully about the colors you use. If your design is dominated by red, for example, then you won’t want to put it on a red shirt, as it’ll simply fade into the background. Use colors with good levels of contrast to help your image stand out.
Step 3: Printing Your Picture
With your design finalized, the next part of how to make custom shirts is to print it. But you can’t just print directly onto the shirt – unless you have an expensive machine that lets you do so – nor can you print onto standard paper. Instead, you’ll need to print onto special transfer paper.

If it’s your first time working with transfer paper, don’t worry. You can check the instructions on the packaging and verify that you’ve got your printer configured to print at the right size and settings.
Once everything seems to be set up just right, hit the “Print” button and watch your design come out. You can then use your scissors or craft knife – knives usually work better for curvier and more intricate designs – to cut it out, ready to be transferred.
Step 4: Applying the Transfer
Last but not least, the final step is to apply this transfer. This part of how to make custom shirts requires some special preparation and a lot of care. It’s easy to make mistakes, so you’ll need to be extra careful to avoid getting anything wrong.
First, prepare your shirt. That means washing and drying it to remove any surface marks or lint, and ironing to get rid of creases – creased fabric can cause problems when you’re trying to line up your transfer in the right spot.
With that done, place the shirt flat on a table or other surface, and put the transfer exactly where you want it. Then, put a kitchen towel or cloth over the top and start heating your iron. Once it’s hot, rub it over the transfer in a circular motion, moving out from the middle to cover the whole design.

The heat should help the transfer adhere to the fabric, and it should only take about 2-3 minutes of ironing to finish the process – double-check the instructions of your transfer paper to be verify exactly how long it takes. Once the transfer is on and dry, peel away the backing paper.
How to Make Custom Shirts Online with Imprint Now
That’s it! How to make custom shirts in only four simple steps. But, if it all seems a little too complicated, or if you’d prefer to skip some of that manual effort and let a professional company take care of the printing for you, consider Imprint Now.
Imprint Now is a leading provider of custom products, from cups and mugs to T-shirts, polo shirts, hoodies, and hats. It’s the ideal place to design and order your own personalized shirts in any size, color, or style you like.
- Easy Customization: At Imprint Now, you don’t need to worry about how to make custom shirts – just upload your artwork and decide on the sizes, and we’ll do the rest for you.
- Great Value: On a budget? That won’t be an issue when you shop at Imprint Now. We offer fair prices across our entire product range.
So, if you want to make some fabulous custom shirts with ease, head to Imprint Now and start designing your dream products.